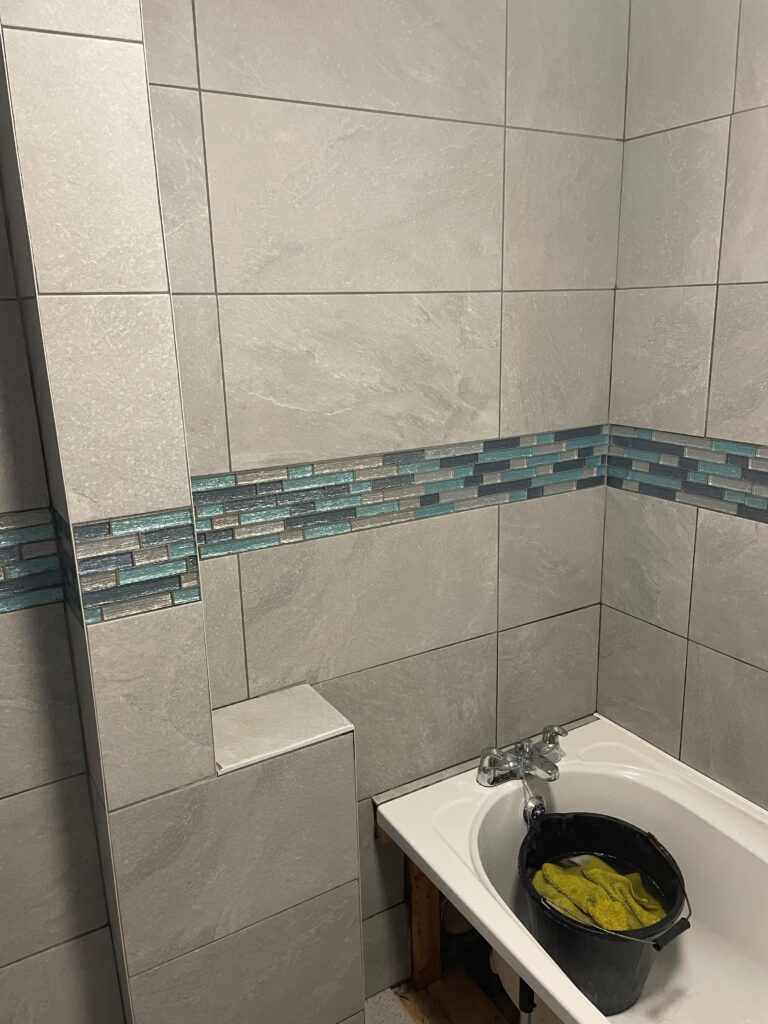
Tiling is an essential aspect of home improvement that can significantly enhance the appearance and value of your living spaces. With the right tools, materials, and techniques, you can achieve professional-looking results on a budget. In this comprehensive guide, we’ll explore 10 common queries related to DIY tiling to help you transform your home with confidence. Let’s dive in!
1. What are the essential tools for DIY tiling?
To get started with DIY tiling, you’ll need the following tools:
- Tile cutter
- Notched Tile Trowel
- Tile spacers
- Grout float
- Tile nippers
- Level
- Sponge
- Mixing bucket
2. How do I choose the right tiles for my project?
Consider the following factors when choosing tiles:
- Material (ceramic, porcelain, glass, stone)
- Size and shape
- Colour and pattern
- Surface texture
- Durability and slip resistance
- Area of application (walls, floors, indoors, outdoors)
- Budget

3. How do I calculate the number of tiles needed?
Measure the length and width of the area to be tiled, then multiply these dimensions to find the total square meterage. Divide this number by the square meterage of a single tile to determine the number of tiles needed. Add 12% extra for cutting and waste.
4. How do I prepare the surface for tiling?
Ensure the surface is:
- Clean: Remove dirt, dust, and grease.
- Dry: Wait for any moisture to evaporate.
- Flat and even: Use a leveling compound if necessary.
- Stable: Repair any loose or damaged areas.
5. What’s the best way to create a layout plan?
Start by finding the centre point of the area to be tiled. Dry lay your tiles from this point, using tile spacers to ensure even spacing. Adjust the layout as needed to minimise tile cutting and ensure a balanced appearance.
6. How do I apply tile adhesive?
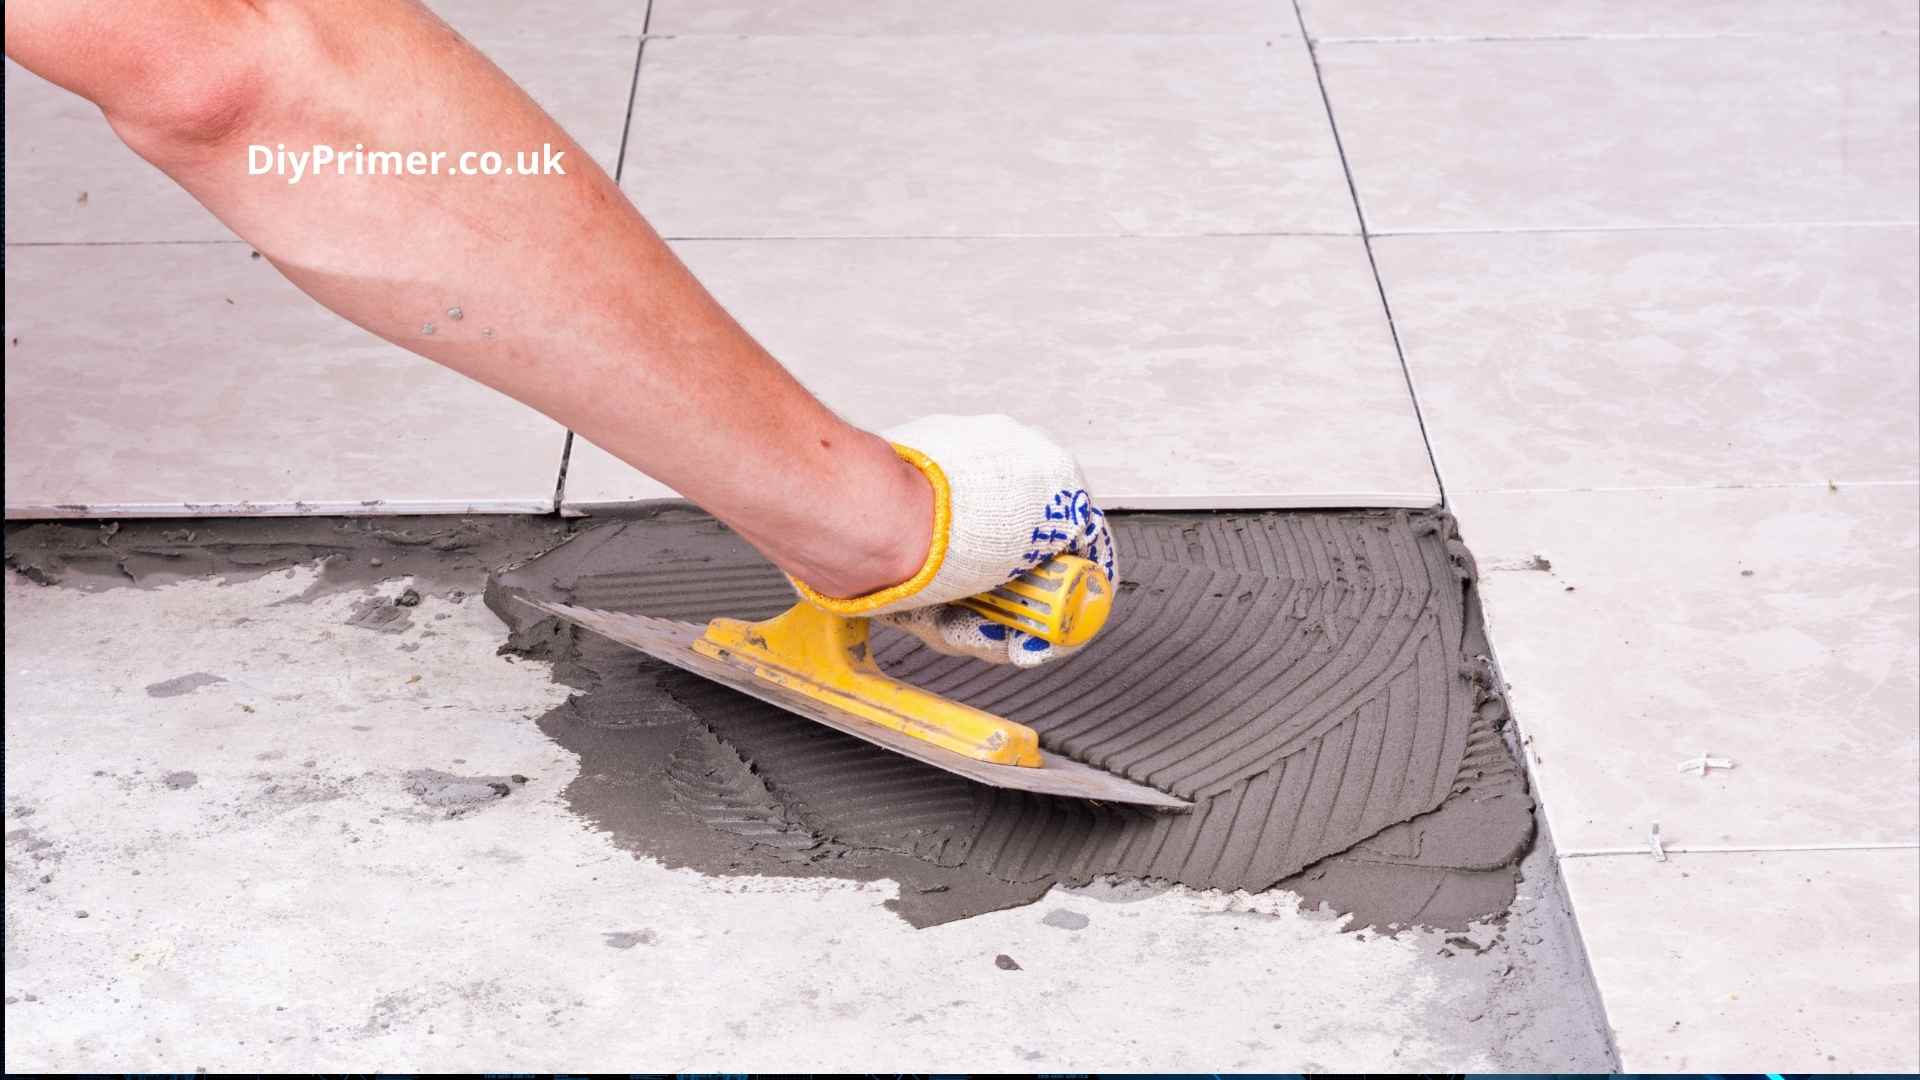
Using a notched trowel, spread the adhesive evenly onto the surface, covering only a small area at a time. Hold the trowel at a 45-degree angle and make parallel ridges in the adhesive to ensure uniform coverage.
7. What’s the proper technique for laying tiles?
- Start from the center and work your way outwards.
- Press each tile firmly into the adhesive, using a slight twisting motion.
- Use tile spacers to maintain consistent spacing.
- Cut tiles to fit edges and corners using a tile cutter or tile nippers.
8. How do I grout and seal my tiles?
- Mix the grout according to the manufacturer’s instructions.
- Use a grout float to apply the grout, working diagonally across the tile joints.
- Remove excess grout with a damp sponge.
- Allow the grout to cure for the recommended time.
- Apply a sealer to protect the grout and tiles from moisture and stains.
See our blog on Grouting Tiles for more details.
9. What are some tips and tricks for successful DIY tiling?
- Clean and maintain your tools properly.
- Choose the right tile adhesive and grout for your project.
- Ensure a level and even surface.
- Avoid common mistakes, such as using too much adhesive or grout.
10. How do I maintain my tiled surfaces?
- Clean tiles regularly with a mild detergent and water.
- Avoid harsh chemicals that can damage the tiles or grout.
- Repair damaged or cracked tiles and grout promptly to prevent moisture penetration.
Conclusion
DIY tiling is a rewarding home improvement project that can transform your living spaces with professional-looking results. By following the tips and techniques outlined in this guide, you’ll be well on your way to creating beautiful, durable tiled surfaces in your home. Ready to get started? Check out our extensive range of tiling tools, materials, and accessories to help you achieve your DIY dreams!
Do you have any questions or need further assistance with your DIY tiling project? Leave a comment below, or contact our expert team for personalised advice and support.

