Grouting tiles is an essential step in any tiling project, ensuring a durable and attractive finish. Whether you’re a DIY enthusiast or a professional tiler, mastering the art of grouting can make all the difference in the final outcome of your project. In this comprehensive guide, we’ll share expert tips and tricks that will help you achieve perfect tile joints every time.
Choosing the Right Grout
There are several types of grout available on the market, and choosing the right one is crucial for the success of your tiling project. The three main types of grout are sanded, unsanded, and epoxy[1%5E].
- Sanded grout is best for wider joints (greater than 3mm (1/8 inch)) and is typically used for floor tiles. It is more resistant to shrinkage and cracking, making it a durable choice for high-traffic areas[2%5E].
- Unsanded grout is ideal for narrower joints (less than 3mm (1/8 inch)) and is commonly used for wall tiles. It provides a smoother finish, which can be more visually appealing in certain applications.
- Epoxy grout is a more expensive option, but it is highly resistant to stains, chemicals, and water. It is suitable for both narrow and wide joints and is often used in commercial and industrial settings, as well as in areas with high moisture levels, such as showers and swimming pools[3%5E].
When choosing grout, consider factors such as the type of tile, joint width, location, and desired colour. Keep in mind that lighter grout colours tend to show dirt more easily, while darker colours can hide imperfections better[4%5E].
In the UK, the most commonly used types of grout are cement-based grouts and epoxy-based grouts, both of which come in sanded and unsanded varieties[11]. Cement-based grout is the least expensive and most widely available type of grout, making it popular for various applications[11]. Sanded grout is typically used for joints wider than 3mm, while unsanded grout is suitable for narrower joints up to 3mm[12]. Epoxy-based grouts are more resistant to stains and water, making them suitable for areas with high moisture levels or commercial and industrial settings [13]
Cement based grouts often have polymer added to the to introduce a level of flexibility to them to ensure they do not crack if the substrate moves slightly.
Base Your Grout Selection on Tiles and Substrate
Most tile manufacturers will give you a clear indication upon what tile grout will be suitable. This will usually be stated on the tile packaging.
If you are not sure, or are using reclaimed or recycled tiles, then it is advisable to use a universal grout. This is usually a blend of cement and sand with some polymer added in which allows for flexibility in movement of the substrate.
It should be noted that this may result in slightly darker joints than if a specific grout was used, but this will not impact the appearance of the overall tile.
It is also worth noting that some manufacturers may recommend a specific grout for their tiles. If this is the case, then it is best to use that particular brand as other types may not bond correctly with them.
Mixing Grout
Mixing grout properly is essential for achieving a smooth and consistent application. Always follow the manufacturer’s instructions, and pay close attention to the recommended water-to-powder ratio[5%5E]. Over-watering can result in weak grout, while under-watering can cause the grout to crumble.
To avoid common mixing mistakes, such as lumps or dry spots, mix the grout slowly and thoroughly. Grout additives, such as latex or acrylic, can be used to improve the performance and workability of the grout[6%5E]. However, be sure to follow the manufacturer’s recommendations for when and how to use these additives.
Typically you mix the grout, leave to stand for 2 minutes and then mix again. This ensures moisture get absorbed into all the grout.
The use of a paint paddle in a cordless drill can assist in mixing the grout, although if you are mixing less that a Kilogram a spatula or similar will be ample.
Typically grout is mixed by adding the powder to the water whilst agitating (mixing.) Only mix enough that you can apply within the stated usage time of the grout taking into account that higher temperatures decrease the usage time. This also includes when you hold the container of grout in your hand as you apply it, the heat from you hand will affect the grout.
Standard Grout has low usage times, typically 20 minutes. Experience has taught me that this is enough time to use about 1 kg of grout on walls or 2 kg on floors at a time assuming 3mm grout lines.
An old Ice cream tub or similar containers are useful for mixing this amount up as the tub can then be held as you work the grout onto the joints. They are also large enough to get your grout float into it to pick up fresh grout easily.
If you are going to be making up multiple batches of grout, use two containers, one to measure the grout into and one to hold the water and to mix and use the grout from. Keeping a dry container for the powder will ensure the grout powder pours easily and any water does not affect the measuring. (My last grouting task had me using a 1kg peanut butter container and a 1kg Greek yoghurt pot.
Grouting Tiles Application Techniques
Applying grout correctly is crucial for achieving a professional-looking finish. You’ll need a few essential tools, including a grout float, a sponge (or microfibre cloths), and a bucket of clean water[7%5E].
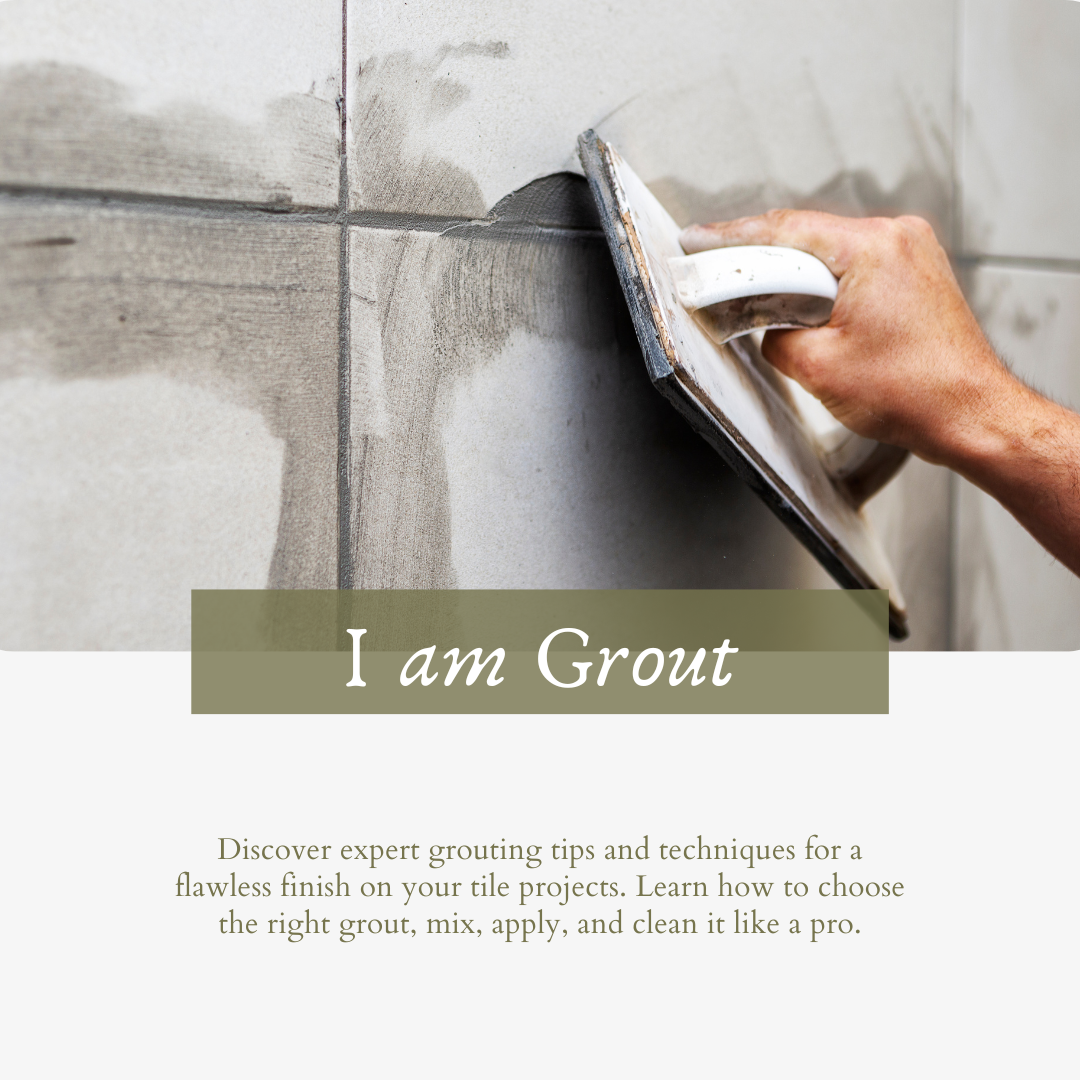
Begin by spreading the grout across the tile surface at the joints. Use a 45-degree angle for the float. Using the grout float to press the grout firmly into the joints. Work in small sections, and be mindful of the grout’s usage time, which will vary depending on the type of grout and environmental conditions[8%5E]. Use your phone or smart speaker to set timings so you don’t get caught out. Dragging the Grout float across the joints at a 45-degree angle to the joint will give the best results to remove excess grout once the joints are filled fully.
Concentrate on filling the joints in a methodical manner during the usage time, taking a first pass to keep the excess grout to a minimum and then once you’ve used all the grout, the usage time has expired or the grout has started to cure (it becomes flaky and stiff) move to removing the rest of the excess grout.
Cleaning off Excess Grout
Most Manufacturers recommend the use of sponges to do this. I find they get clogged up quickly and you’re back to you bucket to clean them on a very regular basis. My preference is to use damp microfibre cloths as typically you can fold the cloth so you have 8 clean sides before going back to the bucket to clean the cloth.
The knack to cleaning the excess grout off the tiles and getting a professional clean grout line is to just wipe across the tile surface with minimal pressure and repeat many times until all the excess grout has gone and the joints are still full of grout.
If you are finding you are moving to much grout out of the joints you are either using to much water, pressure or the grout is still in its usage time.

Cleaning and Finishing
Timely grout cleaning is essential for achieving a polished finish. Once the grout has set for the recommended time (usually 15-30 minutes), use a damp sponge to gently wipe away any remaining grout haze from the tile surface[9%5E]. Be careful not to dislodge the grout from the joints during this process.
After the grout has fully cured (typically 24-72 hours), it’s essential to seal the grout to protect it from stains and moisture. There are various types of grout sealers available, so be sure to choose one that is compatible with your grout type[10%5E]. Regular maintenance, such as cleaning and resealing, will help keep your grout looking its best for years to come.
Ensure you clean you tools at the earliest opportunity also, Grout sets very hard and unless you remove it prior to setting you will have to use mechanical means to remove it.
Tools needed for Grouting Tiles
- Grout float
- Mixing Containers
- Sponge or Microfibre cloths
- Bucket
- Spatula or Mixing Paddle
In conclusion, mastering the art of grouting is essential for achieving perfect tile joints that stand the test of time. By following the expert tips and techniques provided in this guide, you’ll be well on your way to transforming your tiling projects into stunning and durable works of art.
Sources:
Sources:
- The Spruce – Grout Types
- Bob Vila – Sanded vs. Unsanded Grout
- Family Handyman – Epoxy Grout
- HomeAdvisor – Grout Color Guide
- Laticrete – Grout Mixing Instructions
- Tile Council of North America – Grout Additives
- Today’s Homeowner – How to Grout Tile
- Custom Building Products – Grout Working Time
- Lowes – How to Grout Tile
- The Flooring Girl – Grout Sealing Guide
- European Heritage – How to Choose Grout Colour and Type and How to Maintain It: https://www.europeanheritage.co.uk/blogs/advice-inspiration/how-to-choose-grout-colour-and-type-and-how-to-maintain-it
- Eurotiles and Bathrooms – Different Types of Grout and When to Use Them: https://www.eurotilesandbathrooms.com/blog/different-types-of-grout-and-when-to-use-them/
- Tiles4Less – Best Grout: https://tiles4less.co.uk/blogs/diy-tile-guides/best-grout

