Stopping a leaking Tap/Fawcett
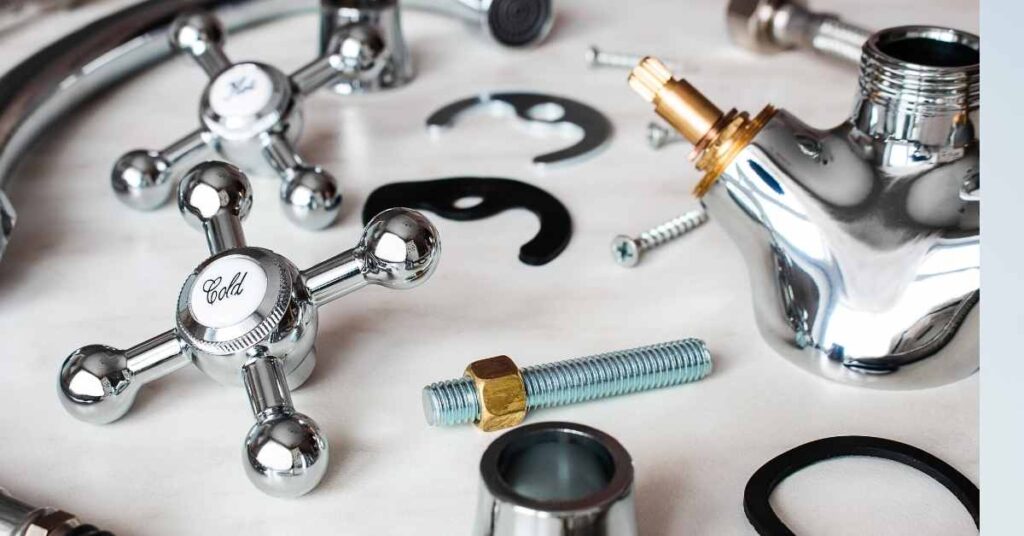
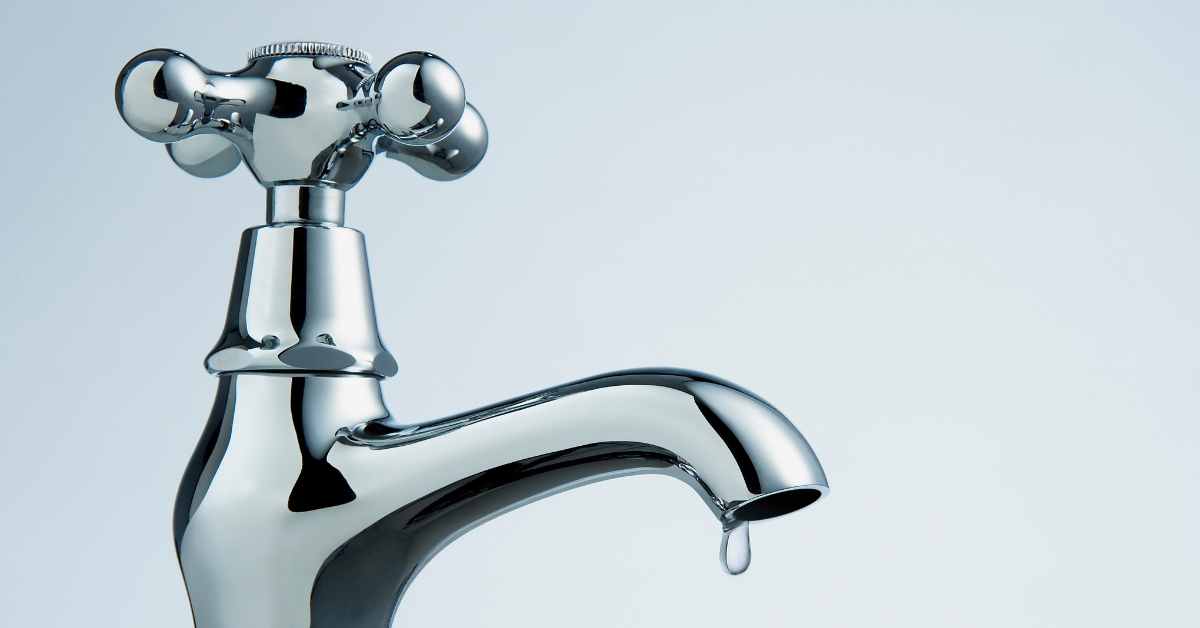
The most likely reason for a leaking tap is the washer within the tap body has worn down and no longer stops the water fully.
This washer can be easily replaced assuming the tap is in a reasonable condition.
You often find taps are caked up with limescale and “gunk” for want of a better word!. Using a good cleaning agent will help clean this off and will help with the repair.

A Step-by-Step Guide
Gathering the Necessary Tools:
Before you start, make sure you have the following tools:
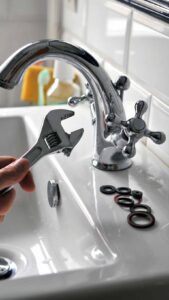
- An adjustable wrench or spanner that fits the nut
- A screwdriver
- A replacement washer (Get this once you identify the size of the old one)
- If available a camera phone to tap photos of how it looks as you disassemble it (this makes reassembly easier.)
Step-by-Step Instructions:
Step 1: Shut Off the Water
The first thing to do is to ascertain if the water supply can be turned off to the tap individually or you have to shut the whole system down at the main stop cock.
In the last 10 years of so it has become common place to put an in-line service valve on taps, check the piping near the tap and see if it has a stopcock or valve that can be used to shut off the water. If so then use this to shut of the water supply to the tap. Tip: Check the water does stop when using this valve, sometimes the valve corrodes leaving a trickle of water, if this is manageable then proceed. If not you will have to shut off and drain down the system.
You will have to drain the system if you do not have a local valve where you can shut the water off. Often the main stopcock is under the sink and should always be located where the mains water enters the house.
- Turn the water off from the main stop cock which is typically under the kitchen sink or a utility room.
- If your tap is mains fed or has an in-line service valve the water should stop almost instantaneously.
- If it is fed by a tank (typically in the loft space) and you have no in-line service valve you may have to wait whilst the tank drains down. Tip: If this is the case and you want to replace a hot tap washer, drain the tank down via a cold tap to save wasting all the hot water which would remain in the hot water cylinder.
For more information check our blog post of how to drain the water system
Step 2: Remove the Tap Handle
- Use your screwdriver to remove the decorative part of the handle (often just pops off).
- Once you see a screw, use your screwdriver to remove it and pull off the handle.

Step 3: Remove the Securing Nut
- Using your wrench or spanner, twist off the larger securing nut which exposes the washer.
Step 4: Remove the Washer
- At the bottom of the stem, you’ll see the washer. Using your screwdriver, remove the screw that holds the washer in place. Care should be taken to use a screwdriver that fits the screw perfectly. These screws are often brass or soft alloy that round off easily if this happens you may need to purchase a renovating replacement tap kit.
- Take out the old washer.
Step 5: Replace the Washer
- Take the old washer to your local DIY store or plumber’s merchant to ensure you get the correct size replacement.
- Once you have your new washer, place it where the old one was and screw it into place.
Step 6: Reassemble the Tap
- Now, just follow the disassembly instructions in reverse. Replace the stem and packing nut.
- Screw the handle back into place, and if there was a decorative cap, replace that as well.
Step 7: Turn Water Back On
- Finally, go back to your water source and turn it back on.
That’s it! Your tap should now be drip-free!
Note: If your tap continues to drip after following this guide, you may have a more serious issue that needs further attention such as renovating the valve seat.

